IN DEPTH: Welcome to the rocky bridge section!
The first piece that I built for the layout was a bridge spanning some cliffs!

I had previously made some some small scenic terrain dioramas for practice and fun... However, I had never really built any scenery specifically for a model before. This was the largest and most ambitious project I had created to date!

The section was built entirely from scratch using as many free or recycled materials as I could...
I used the front of an old drawer that was being thrown out as the bottom of the section and a couple of cardboard boxes for the basic structure. This was hot glued into place and provided enough sturdiness to support the track and the scenery which was added afterwards.
I added some cork sheeting I had left over from an old notice board to the top, so that I could provide cushioning for the track.

Additional cardboard was added to create the hill shape I wanted, and then everything was covered in plaster to provide additional strength to the model.
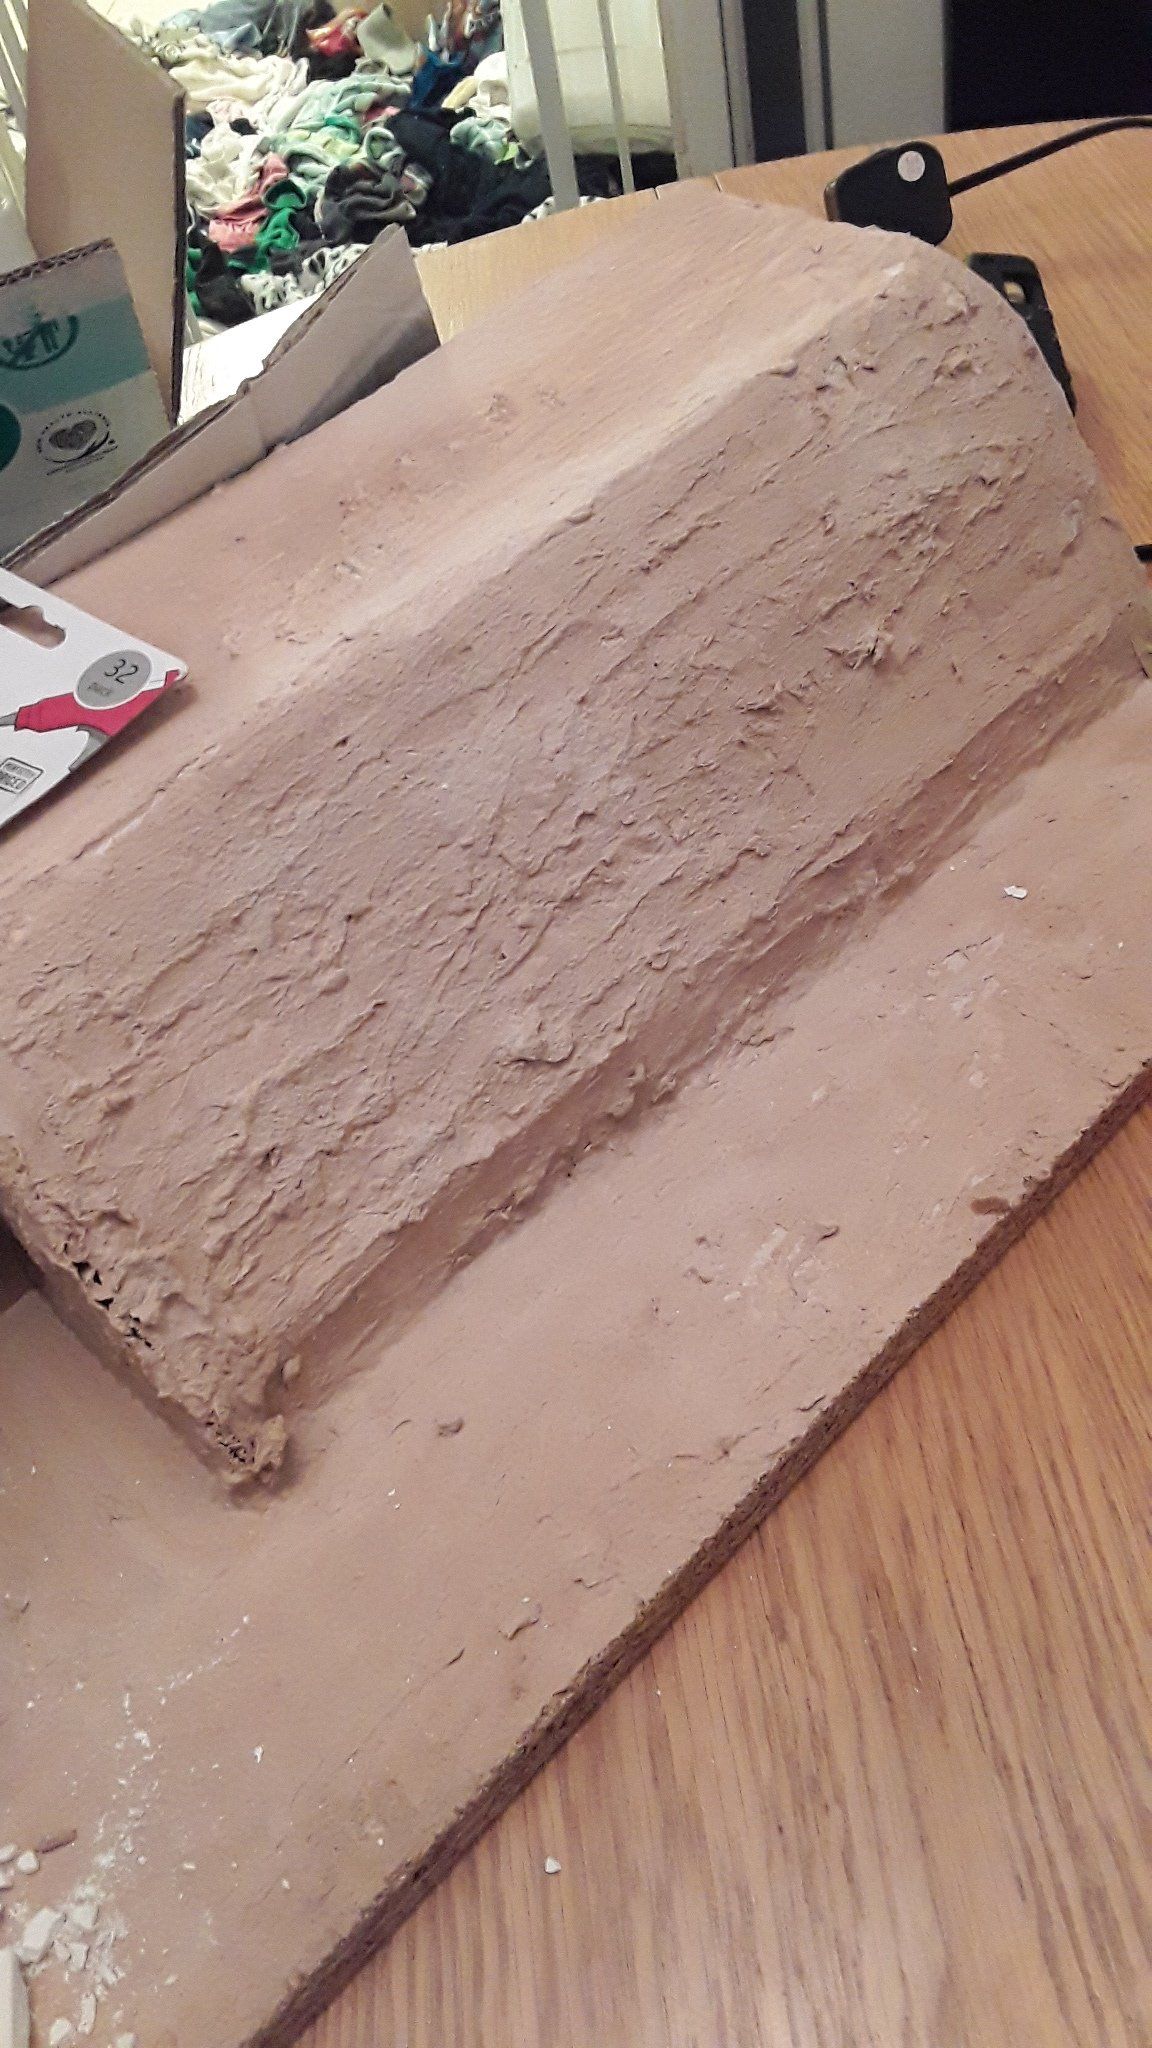
Once the underlying shape was complete, I created some rock faces to attach to the model.
To do this, I stuck several layers of tin foil together, scrunched them up and then opened them out, shaping them into molds that I could fill with plaster.
Although plaster of Paris would have been the perfect material to use, I didn't have much available at the time, so I tried several different products as well to create enough rock faces to cover the front of the model.
I tried using finishing plaster and also some pre-made filler.


The plaster of Paris dried the fastest and although it remained fairly firm, it could be scraped and broken if required.
The finishing plaster took a lot longer to dry, although I think this was due to my mixture being too watery.
Once it had dried, however, it seemed softer than the plaster of Paris. Again, I am unsure if this was my mixture or the plaster itself... The colour was also very different - instead of being plain white, this plaster dried an terracotta - orangey colour. As I was planning on painting it all after, I didn't think this was going to a problem... (However, I discovered later it was...!)
The pre-mixed filler didn't really set, and after several days of trying to dry it over a radiator, I gave up and discarded it. In hindsight, the filler was fairly old when I used it, so I am unsure if that was the reason it failed to set properly.


Once the rocks dried, I broke them up and stuck them to the hills I had created.
Initially, I tried to use hot-glue, however as both surfaces were covered in a dusty plaster, this method didn't work at all.
I resorted to using more plaster to stick the rock faces on the hills instead.
After a few days, once everything had dried and set, I started to paint them.
Initially, I was going to try the "leopard spotting" technique to paint the rocks...
This involves dabbing various colours (a light yellow, a red and a bluey-grey colour) of very watered down paint on areas of the rocks, and letting it dry before applying a light wash over it all to blend the colours together.
This didn't work very well, probably due to the different colours of plaster that I had used... I wasn't happy with the result at all, so I decided to cover it with grey paint which really improved it!


I then used a dry brushing technique to add highlights to the rocks.
Dry brushing is when you add paint to a fairly stiff bristled brush, then wipe almost all of it off before lightly brushing over the model. The very little paint remaining on the brush will catch on any edges only, meaning this technique is brilliant for creating highlights over rough textures!
I used multiple shades of grey (Not 50 shades of grey though!), and with each dry brush I used a lighter shade, covering less and less of the model as I went along.
The final covering was with a very light yellow, which I dry brushed from the top downwards, creating the illusion that it was picking up sunlight from above.


For the tunnel, I created the walls using some card from a cereal packet, and glued brick texture paper to it to create artificial looking walls which would hold up the tunnel.
I weathered the brick texture using some light washes of green paint and added added some green flock materials to the bottom half of the walls to represent the algae and fungus which would appear in a damp environment over time.
This was incredibly effective and looked like the walls have been regularly covered in dirty river water from varying tides.


I created a river bed using a variety of small pieces of leftover plaster.
I added a mixture of different grades of ballast materials as well, to represent the various rocks and debris that would have naturally fallen from the cliff faces over time.
These were all stuck down with a mixture of PVA glue and water. It took several days for this to adhere to the model and dry, however although it looks like loose debris, it is all stuck down very well!
I eventually plan on adding some water effects to the river bed using resin.
I did not have any available to me when I created this, however this will be added at a later date to show a river.
I have not previously used any resin as a modelling material, so I will create practice pieces before I attempt to complete this section!


I built the actual bridge section from lollipop sticks, match sticks, card and superglue. I wanted to get the "rusty metal" look on the bridge, so I heavily weathered it using multiple layers of acrylic paint.
I looked at a lot of image references to get the effect I was looking for, and then researched weathering techniques on YouTube mainly.
I started with the base colour - a deep red - and then stippled a variety of reds, oranges, browns and yellows on the top to get the desired effect.
If I was to do this part again, I would try using weathering powders and other techniques that I tried since to add extra texture and realism.
Despite this, I still feel that it has turned out well, considering I had not really done much weathering before!


To finish off the model, I added various "natural" elements including grass flocks, tall grasses in the river bed, bushes and weeds to the layout. This really helped to bring it together and make it look more natural!
The last thing that I did was apply ballast to the tracks. It was the first time I had actually applied ballast to any tracks, but after watching multiple YouTube tutorials, I wanted to give it a go!
As the section only had 2 straight pieces of track, it was a lot simpler than it would have been if points had been involved.
I do still plan on adding some finishing details, such as a fence along the top of the cliffs, with some more bushes and undergrowth on it.
I also need to touch up areas where the ballast has fallen off or come away.
I learned a lot when producing this piece. It was the first piece that I had built at this size, however it was a great learning experience as I was able to practice multiple ideas and see how they went.
This was a great boost to my confidence as a model maker, and gave me the enthusiasm to continue building a layout!


I will be posting regular updates on the progress to my layout, as well as posting various other videos featuring hints, tips, tricks and techniques, tutorials, reviews and more, so please feel free to like and subscribe to my channel!
Any and all feedback is welcome, however please keep any comments constructive!
See the video: